https://www.youtube.com/watch?v=8PulNRQN9OA
What It Does
The Elements Tool lets you save content for efficient reuse. Think of this functionality as a handy, persistent multi-item clipboard that keeps your own little creations. For example, you can save a nicely drawn shape so that it can be inserted onto another page quickly without you having to use Copy & Paste every time. Another use case is to save image stickers for decorating your notebooks, or signatures/stamps for personalizing your PDF documents.
An element can be anything created with GoodNotes tools, namely handwriting, highlighting, shapes, images, text boxes, and any combination of those. All elements are organized into collections, in much the same way as folders in the app organize your notebooks. This helps ensure you can locate an element easily when you need it.
How to Use It
Insert an element
If you have created your own elements, follow these steps to insert them back to the page. If you haven't created your own elements, try inserting the built-in ones:
-
Select the Elements Tool.
-
Tap anywhere on the page, or tap the Elements tool again. If you do the latter, the element will be inserted in the middle of the page.
-
Tap a collection from the scrollable list at the bottom of the popover.
-
Tap on an element, or drag it onto the page.
<aside>
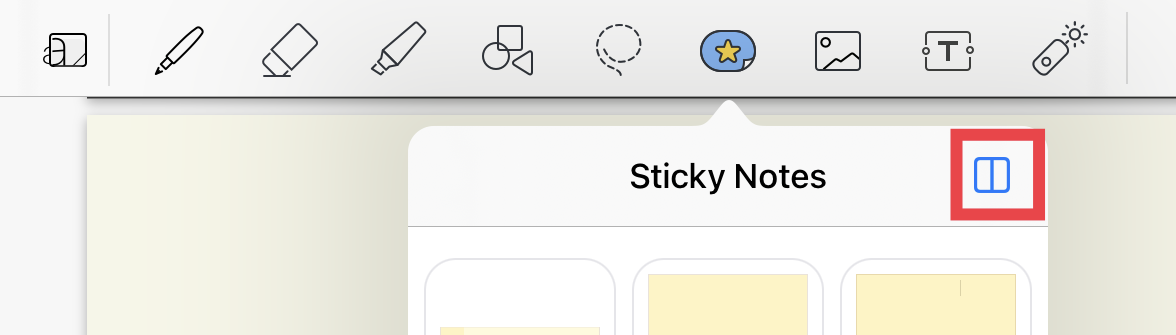
💡 You can open the Elements popover in another window (Split View) so you can easily drag and drop elements to your notes:
-
Tap the Open in New Window icon on the Element popover.
-
To maximize the work space, you can drag the handle at the top of the Elements window into the GoodNotes window to enter Slide Over mode:

</aside>
<aside>
💡 Your most recently inserted elements are shown as thumbnails in the scrollable contextual section. Simply tap any of them to insert it, or drag and drop it onto the page.
</aside>
<aside>
💡 Tips & Tricks
- Once inserted onto the page, the element will stay selected as a whole until you tap outside the selection. Afterward, the element becomes a regular page object again, indistinguishable from other objects. This allows you to easily edit the inserted element. For example, many built-in elements are composed of both an image and typed text (e.g. the "Sign here" sticker), and after inserting such an element and de-selecting it, you can use the Text tool to edit the text and the Image tool to edit the image.
- If you de-selected an inserted element, you can simply tap on it again to select it without using the Lasso tool.
</aside>
Create an element from existing content
- Select the content, tap the selection, and choose Add Element.
- Choose an existing collection to add the new element to. Alternatively, choose New Collection..., name it, and tap Create. You're recommended to use descriptive names for your collections (e.g. signatures, stickers) so that you can easily find an element later.
<aside>
💡 If adding an image as an element, you can select the Image tool, tap on the image twice, choose Add Element and take step 2 above.
</aside>
Create a new collection
-
Tap the Elements tool twice.
-
Scroll the bottom list of collections all the way to the right, then tap the plus icon.

-
Name the collection in the "title" field.
-
Add more elements to it.
-
Tap Create.